Feeds:
Posts
Comments

Posts Tagged ‘healthy eats’

OLYMPUS DIGITAL CAMERA

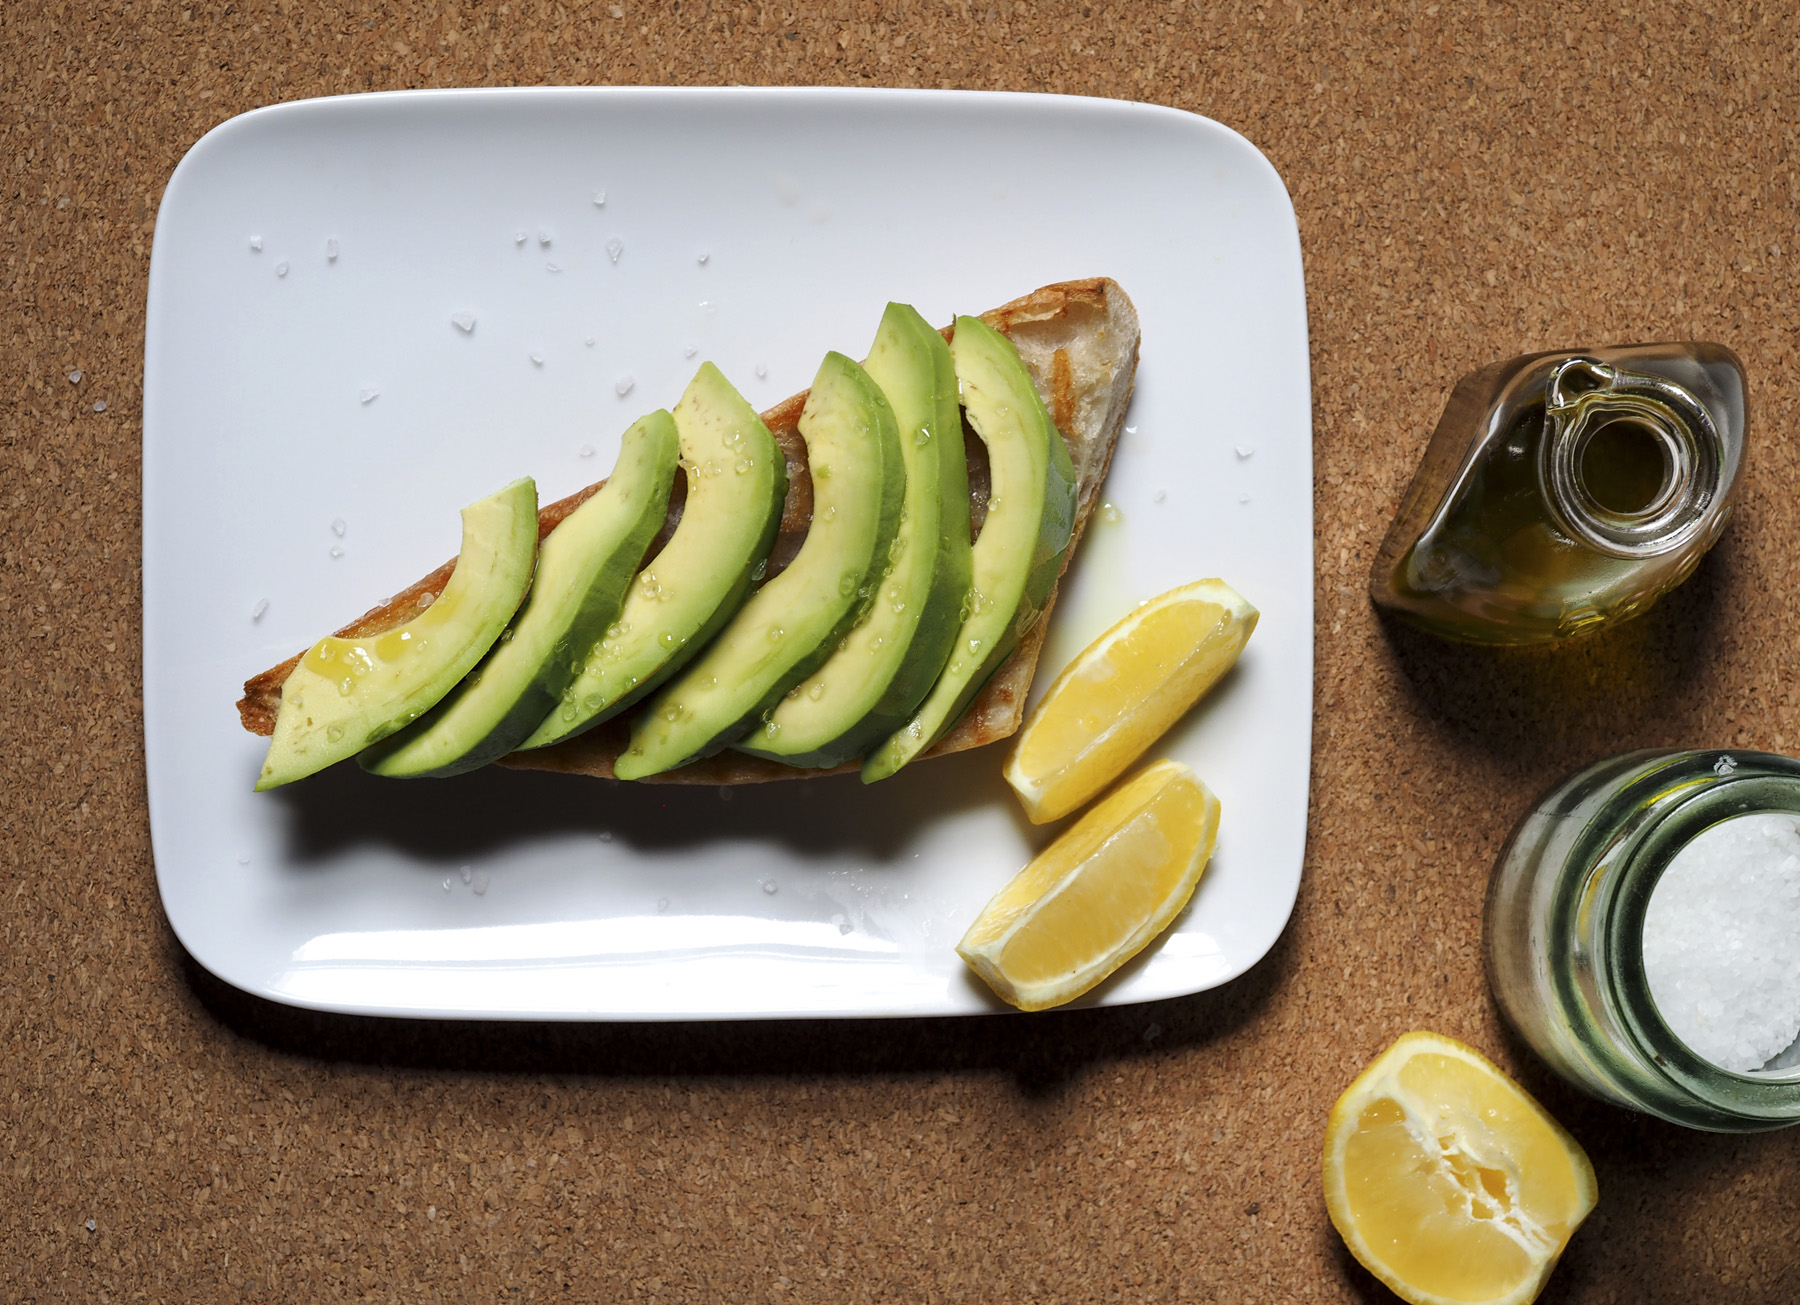
It’s that time of year — asparagus is filling the green markets and being plucked from home gardens.  There is nothing as delicious to see than those bright green heads peeking up through the softening earth.  When I was a little one – there I go again talking about when I was —- my mom and aunt would take me in hand as they scouted the edges of irrigation ditches looking for the first spring crop.  I have absolutely no idea why asparagus grew along the ditches but if any of you readers do please tell me.  We would have asparagus every night until it got too warm and the asparagus disappeared.  It would also be canned and pickled.

When I use it in risotto, I like to add the trimmings to the stock to deepen the asparagus flavor.  And, if you don’t have stock or broth on hand, just add the trimmings to water and that will give you a flavorful stock.  If you have any on hand, a small dice of fennel also works to add some complexity to the final dish.

Serves 4

Approximately 4 cups hot chicken stock or low-sodium chicken

broth

3 tablespoons unsalted butter

¼ cup finely diced onion

Salt

1 cup Arborio rice

½ cup dry white wine

1 pound fresh asparagus, trimmed and cut, on the diagonal, into

thin pieces

1 tablespoon extra virgin olive oil

1 cup grated Parmesan cheese

Pepper

Place the chicken stock or broth in a large saucepan over medium heat.  If you have them, add the trimmings from the asparagus to the stock to add flavor.  Bring to a simmer; then, remove from the heat and keep warm.  

Place the butter in a heavy bottom saucepan over medium heat.  When melted, add the onion and season with salt.  Cook, stirring frequently, for about 3 minutes or just until the onion begins to soften.  Lower the heat, add the rice and cook, stirring, for about 5 minutes or until the rice is shiny and has absorbed some of the butter.

Return the stock to low heat.

Add the wine to the rice and cook, stirring constantly, for about 5 minutes or until the rice has absorbed the wine.  

Begin adding the hot stock, about ¼ cup at a time, and continue to cook, stirring constantly, as each ¼ cup is absorbed and the rice is creamy but, al dente.

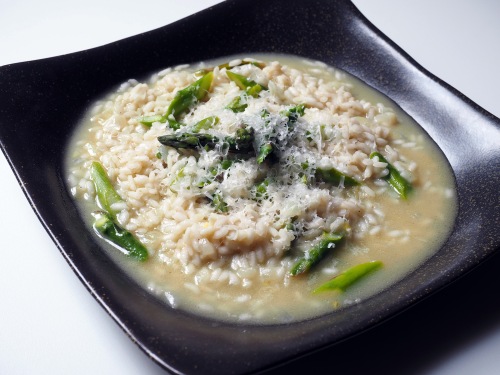
Stir in the asparagus and olive oil and cook for an additional 4 minutes or until the asparagus is still crisp-tender.

Remove from the heat and stir in half of the cheese.  Cover and let stand for 3 minutes.

Uncover and pour into individual serving bowls.  Garnish with the remaining ½ cup of cheese and a sprinkle of pepper.

Serve immediately.  

Read Full Post »

Avocado Toast

In the last few years we have somehow become best buddies with quite a few Australians who along with great friendship have introduced us to their favorite breakfast, avocado toast and a flat white. Avocado toast became an immediate choice for me as my most memorable childhood treat was mashed avocado on a saltine and avocado toast is about as close a relative of that simple snack as you can get. For the easiest version you toast some great bread – I like to do ciabatta or baguette on the grill pan – and then simply slice some avocado over the top, drizzle with extra virgin olive oil and lemon juice and sprinkle on some sea salt. There are other versions calling for mashed avocado seasoned with chilies or dukka (also spelled duqqa), an Egyptian spice mix comprised of ground spices, nuts, and herbs or with Mexican seasonings and chopped cilantro. Lots of New York restaurants are now featuring unusual “cheffy” versions and you can find any number of interesting takes on this simple and quite healthy breakfast on the web and in food magazines.

And should you want to do the whole Aussie breakfast, a flat white is a coffee similar to an Italian cortado, but the milk is softer and thicker and the coffee flavor more pronounced than it is in any of the milky Italian espresso beverages. I think that Starbucks now features a flat white which gives you a further sense of the Australian influence in our culture.

Read Full Post »

NewGift_Beans


You will be hearing more about this but I just had to show you my newest toy.  My very special buddies, Stuart and Dean, took a cooking class in Italy this past summer where the instructor used a glass beaker to cook his beans.  Stuart knew that I would love to experience this so, once home, went on a hunt to find the glass.  And last week he surprised me with the gift.  I researched this cooking method and found that it has evolved from hearth cooking whereby a bean-filled crock was placed in the embers at the end of the evening so that the beans would slowly cook all night in the warmth of the ash and hearth.  As years passed and cooks abandoned the hearth for the stovetop, this glass beaker took the place of the crock.  I couldn’t wait to try my Tuscan bean cooker although I couldn’t believe that the glass would not break on the stovetop.  I soaked some dried red beans that I had on hand for the trial and then put them to cook with olive oil, garlic, herbs, and water.  It took a few hours over very low heat, but the glass didn’t break and the beans were soft and creamy.  I can’t wait to begin cooking white beans in the Tuscan manner this coming week.  I will keep you posted on how my recipes work.

Read Full Post »

pickled-eggs

pickled-beets

My mom loved nothing better than a social gathering and was always prepared for a houseful of  guests.  One of her favorite cocktail snacks was pickled hard boiled eggs, so throughout the summer there was always a jar of them in the fridge.  Recently we were at a dinner party where the first course was a meze platter consisting of hummus and pita chips, prosciutto, olives, pistachios, and pickled eggs.  Our hosts had purchased the eggs at a local delicatessen and although they weren’t pickled in beet juice, they immediately reminded me of my mom’s.  So, when making pickled beets (with yellow and red beets from the farmers market) the other day I had to replicate her favorite eggs.  I think I left the eggs in the pickling juice a little too long but they were certainly a glorious color and tasted pretty darn good too.  One bit of warning – the longer you pickle them the tougher the white becomes, but it will never become inedible.  Here’s my pickled beet recipe, but you can also purchase jarred pickled beets and use that juice or make your own pickling liquid with any type of vinegar; just remember, whatever color the vinegar that will be the color of your eggs.  All you do is hard boil some eggs, let them cool, peel, and submerge them in pickling liquid.  If you like a little heat, add some fresh chiles to the liquid.  Cover and refrigerate for at least 24 hours to allow the egg white time to absorb the pickle.
A word about pickled beets.  When I was a girl, all kinds of pickles were on the table for every meal, even breakfast.  Home-canned jars of pickled vegetables of all kinds along with at least 4 or 5 different kinds of pickled cucumbers , sweet, spiced, and dilled set center stage.  Although there has been a recent resurgence in pickling (both in cookbooks and in the artisanal food movement), I think the only place that you might still find an array of pickles on the table is in an Amish farmhouse.

Pickled Beets
2 bunches fresh beets, washed, trimmed of the greens (remember to save the greens for a quick
    sauté in a little olive oil and garlic), and cooked
1 large red or sweet onion, peeled, trimmed, and cut, crosswise, into thin slices, then pulled into rings
1½ to 2 cups white (or other) vinegar
2 tablespoons sugar
½ teaspoons caraway seeds, optional
Salt and cracked black pepper to taste

Peel and trim the beets; then, cut, crosswise, into slices about ¼ thick.  Place in a bowl.
Add the onion rings, tossing to combine.  Add the vinegar, sugar, and, if using, the caraway seeds.  Season with salt and pepper to taste and toss to blend completely.
Transfer the mixture to a nonreactive container – I like a glass refrigerator storage container or large glass jar – taking care that the pickling liquid covers the beets and onions.  Cover and refrigerate for at least 2 hours before using.  When covered and refrigerated the beets will last for up to 10 days.

Read Full Post »

Radish_dsc_3121


Just in case you are tired of the same old toss green salad, here is something that will add some zing to your dinner table. I shaved a bunch of radishes (which were unusually crisp and pungent) over a container of daikon radish sprouts. I tossed the mix with a dressing made with sesame oil, lemon and orange juice, soy sauce, sesame seeds, and pickled ginger. A sprightly mix that highlighted an otherwise ordinary dinner. It is a salad I will return to often.

Read Full Post »

Artichokes_baby_DSC_1092


If you’ve read my posts for awhile you will know that I love artichokes.  The baby ones I got at the farmers market the other Saturday made the best Roman Fritto Misto, but since I only fried the artichokes I guess it was a fritto without the misto. To make the misto, just combine an assortment of vegetables cut into a little bit larger than bite-size pieces. Sounds very fancy, but it is so simple to do.  Here’s how:
Clean the baby artichokes and cut them, lengthwise, into quarters.  Scoop out the fuzzy choke and rinse well.  Rub well with a cut lemon half and pat dry.  (Work quickly as the cut artichokes will rapidly begin to discolor.  You can always put them in acidulated (lots of lemon juice) water as you work to stop the process, but then you really have to make sure they are well-dried before frying.)
Combine the cut artichokes with salted flour in a resealable plastic bag, close, and shake well to coat generously.
Whisk 2 eggs together in a shallow bowl.
Heat olive oil in a deep fat fryer to 375ºF on a candy thermometer.
Place the floured artichokes in a sifter and shake to remove excess flour.  Quickly dip into the beaten egg and immediately drop into the hot oil.
Fry for about 3 minutes or until golden brown and crisp.  If they cook too quickly, remove the fryer from the heat and let the oil cool to 365ºF before continuing to fry.
Lift from the oil and place on a double layer of paper towel to drain.  Sprinkle with salt and serve hot.

Read Full Post »

Thai_Salad_DSC_1380


Sometimes a simple green salad is just not what you want on the menu.  And, sometimes, there is a little of this and a little of that in the fridge that needs to be used.  This salad is a little bit of both.  I had a couple of yellow beets that needed to be used and the remains of a bunch of mint so….Thai Beet Salad was my answer.  Here’s what I did….
Used my julienne peeler to cut the beets.  The mandolin to thinly slice half of a left-over hothouse cuke.  My fingers to pull apart the mint leaves and my beautiful Global chef’s knife to chop up a head of romaine lettuce.  Tossed them all together and then dressed the mix with a splash of miso-citrus vinaigrette made as follows:

¼ cup white miso paste
6 ounces rice wine vinegar
2 tablespoons lime juice
2 tablespoons mirin
1 tablespoon tamari
½ tablespoon ginger juice
½ tablespoon freshly grated orange zest
6 ounces canola oil
1 tablespoon sesame oil
Salt and pepper to taste, optional

Combine the vinegar, lime juice, mirin, tamari, ginger juice, and orange zest in a jar with a lid.  Add the canola and sesame oils, cover, and shake and shake to emulsify.  Taste and, if desired, season with salt and pepper.  This makes more than you will need for 1 salad, but it keeps well, covered and refrigerated, for up to a week or so.  Bring to room temperature and shake well before using.

Read Full Post »