Feeds:
Posts
Comments

Posts Tagged ‘vegan recipes’

©Steve Pool Photography

We were introduced to these cookies by our friends, Stuart and Dean.  Stu is English, where cookies are biscuits, and Dean is from New Zealand where Anzac biscuits are cookies that are a national treasure.  They were created during the era of World War I; some say to send to the troops fighting abroad, some say to sell at home to raise funds for the war effort and some say that neither of these tales are true.  And I don’t think it matters how they came to be, they are just plain delicious!  They are, of course, to Americans simply a version of oatmeal cookies.  Anzac biscuits are great to have on hand to dunk in a cuppa or crunch on as they are quite dry and crispy and keep forever.

Makes about 2 dozen

½ cup (1 stick) unsalted butter

2 tablespoons dark corn syrup

1 cup rolled oats, either instant or old-fashioned

1 cup all-purpose flour

¾ cup dessicated coconut – I use organic, finely shredded unsweetened

Scant ¾ cup sugar

Pinch salt

1 cup raisins

1 cup chopped walnuts or pecans

2 tablespoons boiling water

1½ teaspoons baking soda

Preheat the oven to 350°F.

Line 2 cookie sheets with silicon liners or parchment paper.  If you have neither, lightly grease them.  Set aside.

Combine the butter and corn syrup in a small saucepan over very low heat.  Warm until just melted and combined.  Keep warm.

Combine the oats, flour, coconut, sugar and salt in a mixing bowl.  Add the raisins and walnuts, stirring to blend well.

Pour the boiling water into a medium bowl.  Immediately add the baking soda and stir to dissolve.  Take care as it will bubble up quickly.  Pour the warm butter mixture into the soda mixture and stir to combine.

Drizzle the butter mixture over the dry ingredients and begin stirring to combine.  It is not a wet mixture so you will need some muscle to mix.

When well-combined, form the dough into small balls.  I’d say about the size of a walnut.  Place the balls, about an inch or so apart, on the prepared cookie sheets.

Place in the preheated oven and bake for about 15 minutes or until firm, beautifully browned and crisp.  The whole point of these cookies is that they should be relatively dry, darkish brown and sturdy enough to last some time.

Remove from the oven and transfer to a wire rack to cool.

When cool, store, covered, for up to 3 weeks.

Read Full Post »

©Steve Pool Photography

          I don’t know when I first discovered pomegranates but it was sometime in my early teens.  I was hooked!  I loved their color, the piquancy of the arils, the messiness of pulling the fruit apart (I know, I know, there are some tidy methods of doing this but I like what I like!), the stains on my fingertips.  To this day, nothing can dissuade me from the thrill I feel when I first discover them arriving in the market…..usually long about now!  And the first thing I do is lean over my kitchen sink and begin pulling my purchase apart, almost slurping up the juicy arils as the colorful juice runs down my chin. 

          I rarely use them in cooking or baking — I just love pulling them apart and popping the arils – seeds, to me — between my teeth and feeling the juice explode on my tongue.  However, once in awhile I will patiently extract the arils and pile them up in a bowl to use in a salad, as a garnish or even in a stew.  Here is a salad in which they can shine.  It is perfect for fall.  It can stand on its own or be a side kick to almost any meat or game.

Wild Rice Salad

Serves 6

1 cup wild rice

Salt

½ cup low-fat plain yogurt

¼ cup hazelnut or walnut oil

¼ cup rice wine vinegar, preferably Japanese rice wine

½ teaspoon curry powder

¼ teaspoon minced ginger

1 cup julienned snow peas

¾ cup pomegranate arils plus more for garnishing if you like

½ cup julienned yellow bell pepper

½ cup chopped toasted hazelnuts

Pepper

          Rinse the wild rice and place in a bowl with cold water to cover for about 30 minutes or up to 1 hour.  Drain well and transfer to a medium saucepan.  Add 4 cups of cold water and season with salt.  Place over high heat and bring to a boil. 

          Lower the heat, cover and cook at a gentle simmer for about 45 minutes or until the rice is tender, but a bit chewy.  Remove from the heat and spoon into a colander.  Set aside to drain thoroughly.

          While the rice is cooking, prepare the dressing.

          Combine the yogurt with the hazelnut oil in a small mixing bowl.  Whisk in the vinegar.  When blended, whisk in the curry powder, and ginger.  Season with salt and pepper and set aside to allow the flavors to blend.

          When the rice is well drained, transfer to a serving bowl.  Toss in the snow peas, pomegranate, bell pepper and hazelnuts.  When well-blended, drizzle in the dressing, tossing to distribute evenly.

          Taste and, if necessary, season with salt and pepper. 

          Serve, as is, or with pomegranate sprinkled over the top or on a bed of greens.

Read Full Post »

©Steve Pool Photography

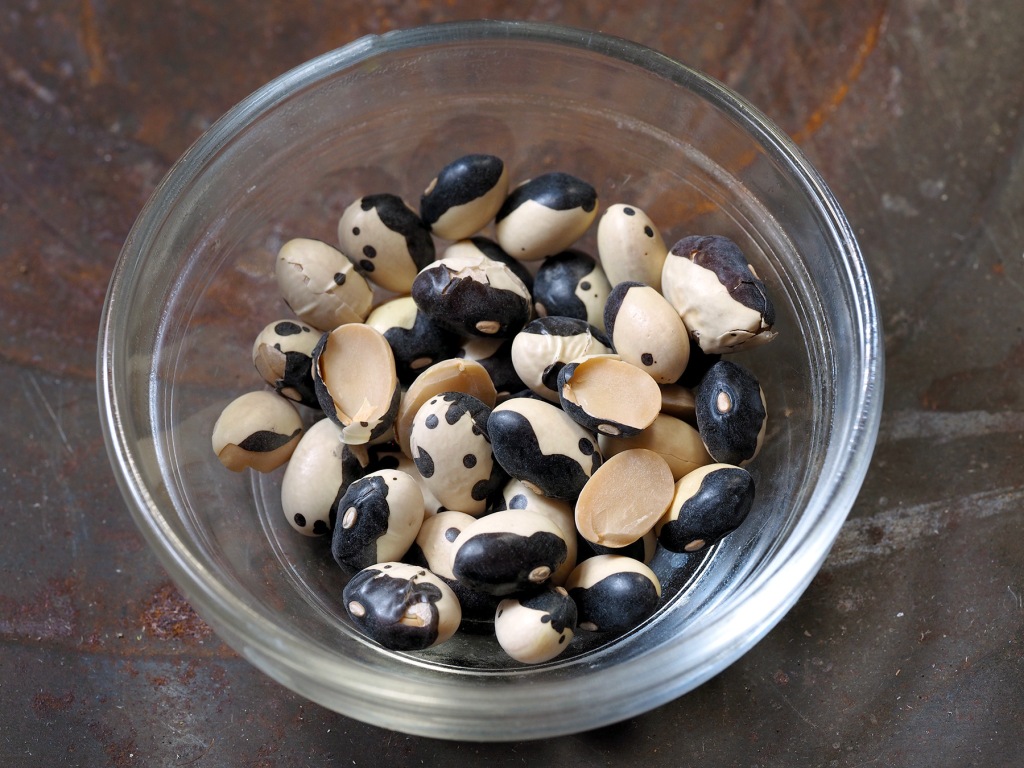
In this recipe, I used Yin-Yang beans which are also known as Black Calypso beans, but you can use any white bean you have on hand.  Yin-Yang beans are a kidney bean hybrid, native to the Americas.  Half white and half black, they are a beautiful bean which doubles in size when cooked.  You will find lots of great bean recipes in my forthcoming book, The Mighty Bean, which will be published in February 2021.  In the meantime, I’ll try to be better about posting recipes that will wet your whistle for the full monty that the book will offer.

One of the joys of writing about beans was the discovery of so many different types of beans.  And, once discovered, I found many new purveyors online that, even during this pandemic, could quickly deliver them to me.  Searching the internet for new types became quite a game for me and Steve loved photographing the new-found varieties.

          As fall settles in, you will begin to see dried beans at your local farmers markets.  I first found the now-lauded Rancho Gordo beans quite a few years ago at the San Francisco Ferry Market Saturday farmers market and made another California farmers market discovery of Kandarian Organic Farms beans at the San Rafael (California) Sunday farmers market.  And, here in New York I can find dried beans at a number of stalls at the various farmers markets around town or online all year round.

Serves 6

1 pound white beans, soaked for at least 8 hours

2 cups vegetable or chicken stock (or canned broth)

¼ cup white wine

2 tablespoons tomato paste

1 bunch Swiss chard, trimmed and chopped

1 onion, peeled and finely diced

1 teaspoon minced garlic

1 teaspoon freshly grated orange zest

1 teaspoon fresh thyme

Salt and pepper

1 pound sausage links, cut into pieces – Use any kind you like – sweet Italian, bratwurst, chorizo, blood sausage – all types work

Drain the soaked beans well.  Place them in a large pot with cold water to cover by at 2- to 3-inches.  Place over high heat and bring to a boil.  Immediately, lower the heat and cook at a gentle simmer for about 90 minutes or until the beans are just barely tender, but not mushy.  They are going to be cooked further so it is important that they are not over-cooked at this point.  Test for tenderness after about 45 minutes as the age of the bean will impact on the necessary cooking time – older beans take longer, freshly dried beans can often cook in less than an hour.  If you use a slow cooker or Instant Pot, follow whatever directions you normally use to cook dried beans.  I just stick to my old-fashioned ways!

Preheat the oven to 375°F.

Lightly grease a baking dish or casserole.  Set aside.

When the beans are almost tender, remove from the heat and drain well, reserving the cooking liquid.

Transfer the beans to a large mixing bowl.  Add the stock, wine and tomato paste, stirring to blend well.  Add the chopped chard, onion, garlic, orange zest and thyme.  Season with salt and pepper and again stir to blend.

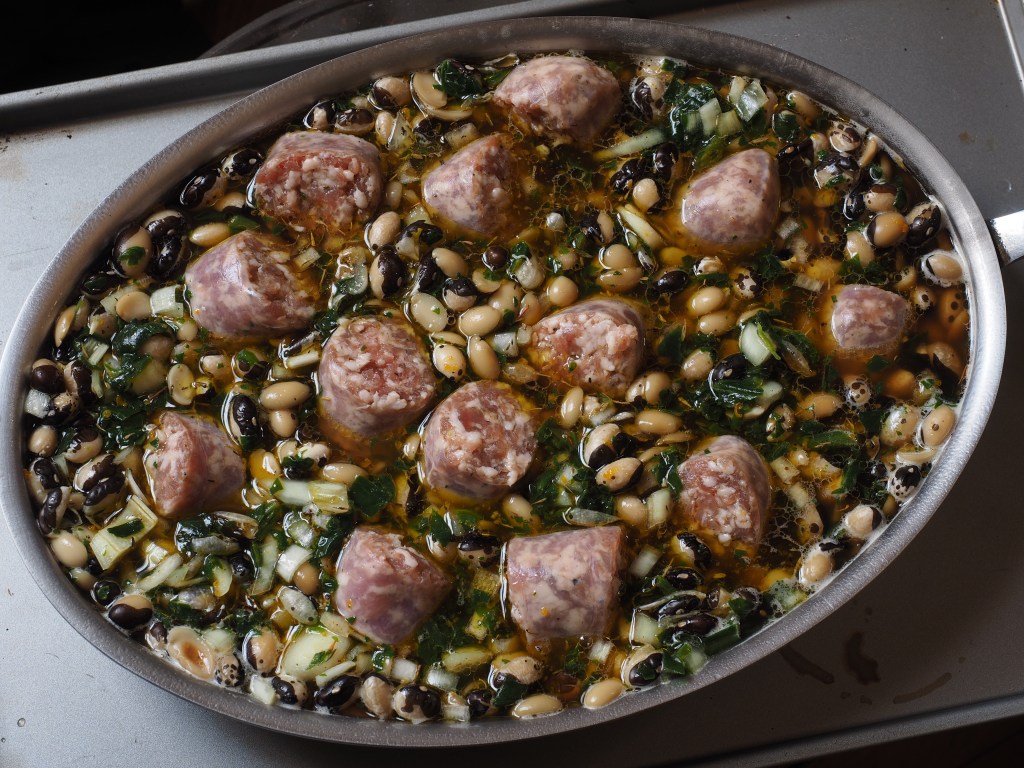
Transfer the bean mixture to the prepared baking dish or casserole.  Nestle the sausage pieces into the beans and transfer to the preheated oven. 

Bake for about 45 minutes or until bubbling and crispy around the edges.

Remove from the oven and serve hot, with some crusty bread.

©Steve Pool Photography

Read Full Post »

My dear husband loves, loves, loves broccoli – I think he would happily eat it every day.  Because of this, I’m always trying to find interesting ways to cook it so we don’t have the same old roasted broccoli every day.  I never boil it as it was brought to the table in my childhood rendering it soggy and completely unappetizing.  

When last in San Francisco – in that other time when we could travel and visit far away places and eat anywhere that pleased us – we had a few wonderful meals at China Live (chinalivesf.com).  It is an amazing emporium and restaurant highlighting great Chinese products and foods.  We came home with some of their soy sauce, vinegar and chili oil – each one better than the other.  Once you try their soy sauce, it is very hard to go back to the supermarket choices.  The black vinegar is delicious and the chili oil incredible.  You can easily order all of these products online.

This is an easy and very tasty method of introducing broccoli into your menu IF you are not fond of it.  And, if you, like my husband, love it, this recipe will make you love it even more.  If you don’t have the China Live chili oil, use any Chinese chili oil you have on hand.

In case you don’t know this easy technique to mince garlic and ginger – just peel them and use a rasp grater to quickly grate.  Easy-peasy!  

Serves 4 to 6

1 head broccoli

½ cup plain yogurt

2 cloves garlic, peeled and minced

One ½-inch piece fresh ginger, peeled and minced

1 tablespoon lite soy sauce

1 teaspoon China Live chili oil

¼ teaspoon red chili flakes

Preheat the oven to 400°F.

Line a baking sheet with sides with parchment paper or nonstick aluminum foil.  Set aside.

Trim the broccoli, discarding the leaves and cut it into florets with some stem attached.  If the broccoli is older, check to make sure that the stems are not woody.  If they are, cut most of them off.

Combine the yogurt with the garlic, ginger, soy sauce, chili oil and chile flakes in a large mixing bowl, stirring to blend well.  Add the broccoli and toss to evenly coat.

Lay the seasoned broccoli out in a single layer on the prepared baking sheet.  Transfer to the preheated oven and roast, turning occasionally, for about 20 minutes or until the florets are lightly browned and the stems are tender.

Remove from the oven and serve.

Read Full Post »

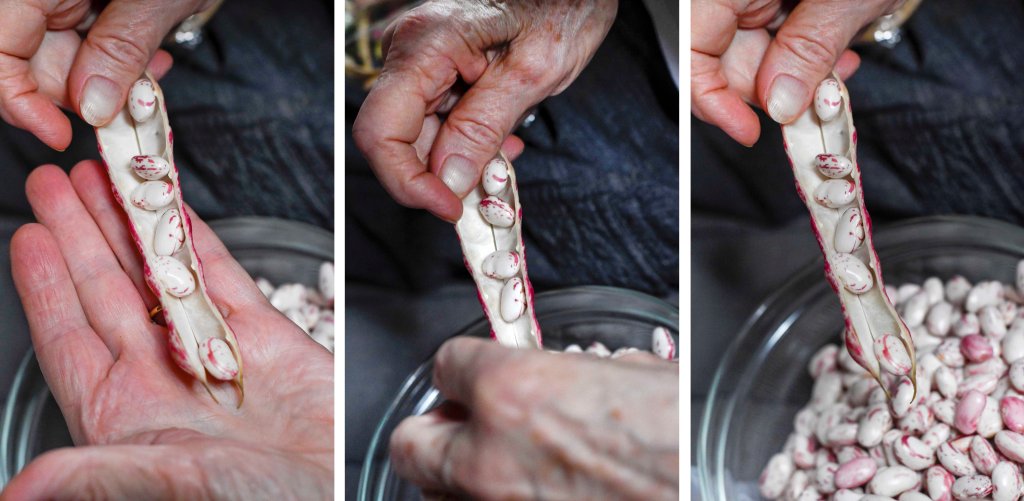
This recipe takes quite a bit of prep work as you neatly dice all the vegetables but the end result is well-worth the effort.  It is one of my favorite soups to make when fresh cannellini beans come to the green market.  This usually happens in the late summer or early fall.  I particularly enjoy the zen of sitting and shelling the beans.  If you have a rind of Parmesan cheese on hand, throw it in the pot.  It will add a lovely richness to the broth.

A version of this recipe will be found in my new book, The Mighty Bean, which will be published in February 2021.

Serves 6

¼ cup unsalted butter

2 tablespoons olive oil

1 cup diced onions

1 cup diced leeks

2 tablespoons minced flat leaf parsley

2 cups fresh cannellini beans

6 cups low-sodium vegetable broth

1 cup diced potatoes

1 cup diced carrots

1 cup diced celery

1 cup diced zucchini or yellow summer squash

1 cup diced green beans or yellow wax beans

1 cup fresh peas

1 cup chopped Savoy cabbage

2 cups diced Italian plum tomatoes with their juice

Salt and pepper

Extra virgin olive oil for serving, optional

Freshly grated Parmesan cheese for serving, optional

Combine butter and oil in a large soup pot over medium heat.  When hot, add the onions, leeks and parsley.  Lower the heat and cook, stirring frequently, for about 5 minutes or just until the aromatics begin to soften.

Stir in the cannellini beans and add 2 cups of the broth.  Cook for an additional 15 minutes.

Begin adding all the vegetables except the tomatoes, one at a time, and cooking each one for 3 minutes before adding the next one.  They should be added as they are listed in the ingredient list as this allows for the proper cooking time for each one.  

When all the vegetables have been added, stir in the tomatoes and remaining vegetable broth.  Season with salt and pepper, raise the heat and bring to a boil.

Immediately lower the heat to a bare simmer.  Simmer for about 30 minutes or until the soup is very thick.

Remove from the heat and serve with a sprinkle of grated Parmesan cheese and a drizzle of extra virgin olive oil, if desired.


Read Full Post »

Beets with Greens_DSC_6222

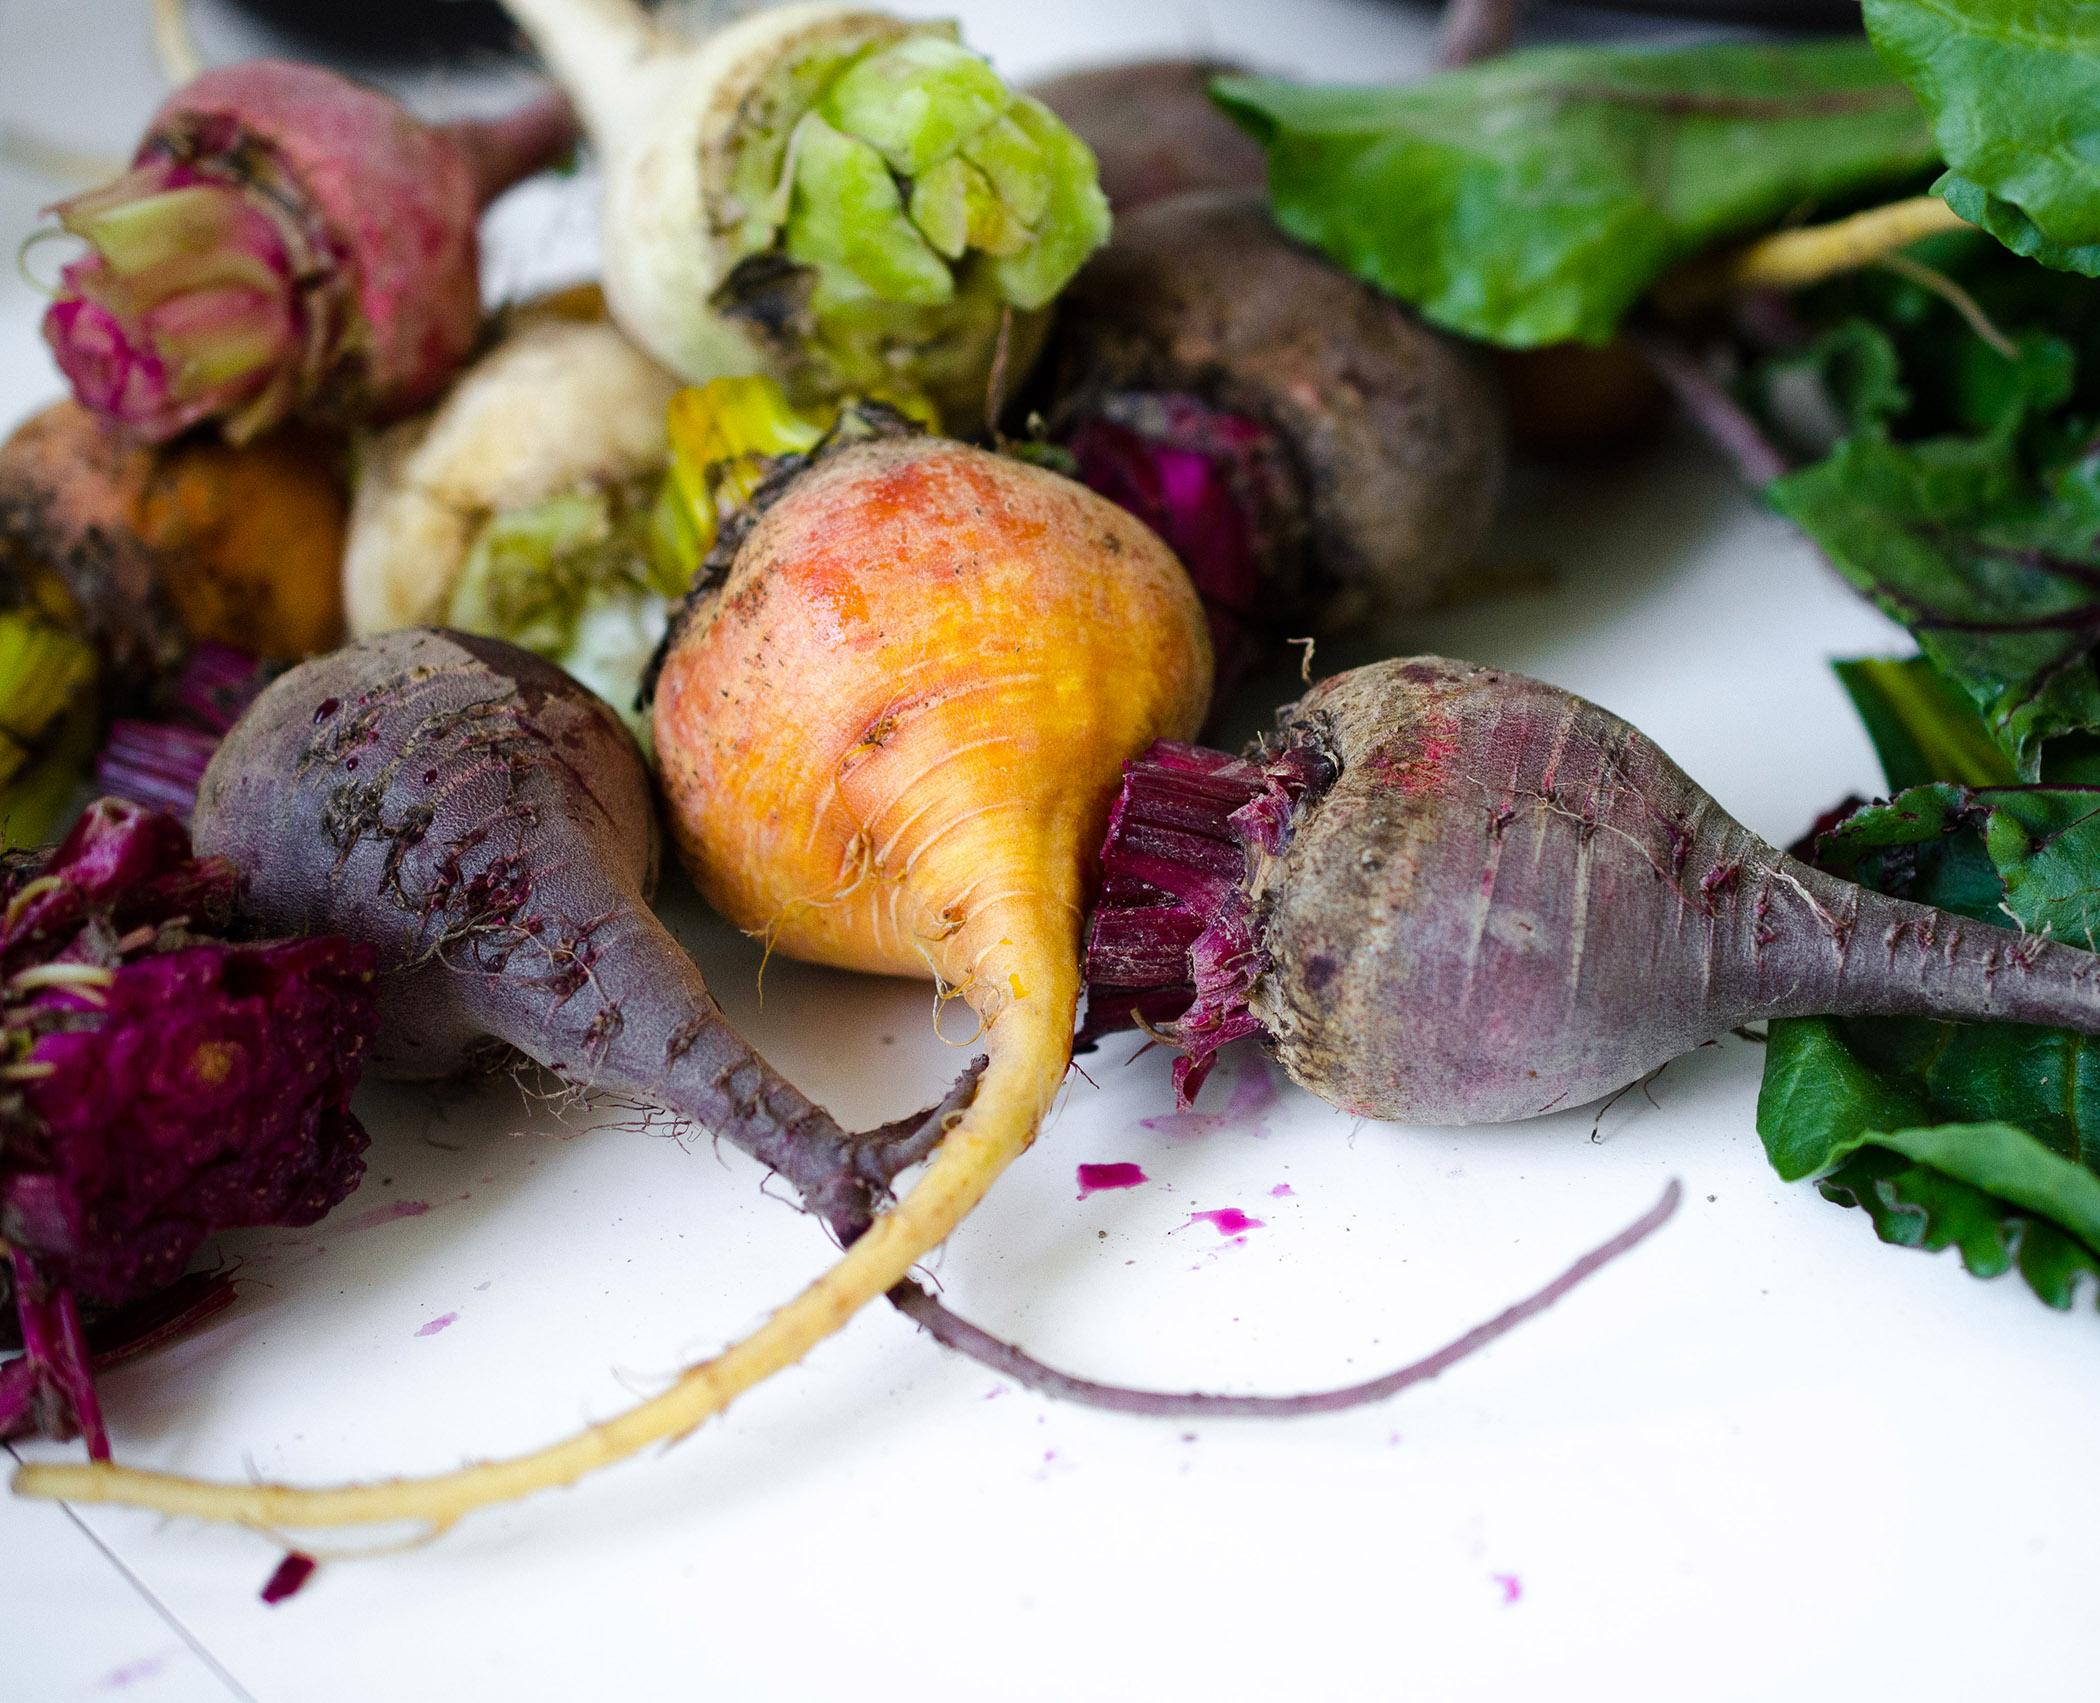
We’ve been visiting friends who have their first garden growing on their deck in large planters.  We have been watching the beets grow and were beginning to see the glorious red globes peeking out of the earth when we left.  Beets have always been a favorite vegetable for me and now they seem to hold that same allure with my grandchildren – except the littlest one who hasn’t yet decided that vegetables are part of the necessary food groups.

My mother loved to make Harvard Beets which was the only way I refused to eat them.  I called them slimy….  You never see them anymore and, as far as I am concerned, this is with good reason.  If you’re not familiar with them Harvard Beets are diced cooked beets cooked in a very sweet, slightly vinegary cornstarch-thickened sauce.  Why any cook ever decided to add sugar to an already sugary beet is a mystery to me.

I am so delighted that beets are beginning to appear at the green market.  They will be on our table throughout the summer and early fall.  I prefer to bake them in their skins, wrapped in foil.  When done, I push off the skins, slice them and either pickle them or give them a quick sauté in butter, season with salt and pepper and toss in some fresh dill, parsley or tarragon.  So, yummy.

Read Full Post »

OLYMPUS DIGITAL CAMERA

I’ve been thinking a lot about avocados —- well, you know, it is a time of isolation when our thoughts can run amok!!!!  Why avocados?  I don’t really know but I would guess it is because during this extraordinary time people have taken to cooking and blogging and social mediaing about their favorite or, often, most challenging dishes.  Among the top 2 have been avocado toasts and sourdough bread.  I have never done an avocado book but I have done a couple of classic bread books – The French Culinary Institute’s Fundamentals of Bread Baking and Master Baker Lionel Vatinet’s A Passion for Bread and you would think that I would have, by now, mastered not only sourdough bread but tons of others.  Instead I just make my own traditional white batter bread that my mom and probably my grandmother made.  So, that leaves avocados.

Even when I was a wee one, avocados were a favorite.  Before I had teeth, my mom would slather a saltine with mashed avocado as a treat.  I’m told I would lick off the avocado and hand the cracker back for more until the cracker folded….  I still love avocado slather on a saltine.  However, when our Aussie friends introduced us to their national breakfast dish, avocado toast, I took to it like that proverbial duck to water.  There are so many versions that it is hard to keep an up-to-date list but my favorite remains any that combine avocado, tomato and/or olives.

Another favorite is individual nacho-like avocado chips.  All you need is a fresh tortilla chip (I lie, you can use bagged tortilla chips.), mashed, well-seasoned avocado, some cooked chicken or pork, grated cheese and some kind of zesty salsa/sauce to drizzle as you snack.  A perfect nosh with a chilled margarita!

A note on the latter – fresh tortilla chips are so so so so so much better than packaged chips.  And, easy to make.  Cut small corn tortillas into triangles or even break them into random pieces.  Season with a little oil and salt, tossing to coat.  You can add some ground cumin, cayenne or chili powder if you like.  Lay them out in a single layer on baking sheets and bake at 300°F, tossing and turning occasionally, until they are crisp and lightly colored.  They are addictive!

DSC_6650

Read Full Post »

OLYMPUS DIGITAL CAMERA

It’s that time of year — asparagus is filling the green markets and being plucked from home gardens.  There is nothing as delicious to see than those bright green heads peeking up through the softening earth.  When I was a little one – there I go again talking about when I was —- my mom and aunt would take me in hand as they scouted the edges of irrigation ditches looking for the first spring crop.  I have absolutely no idea why asparagus grew along the ditches but if any of you readers do please tell me.  We would have asparagus every night until it got too warm and the asparagus disappeared.  It would also be canned and pickled.

When I use it in risotto, I like to add the trimmings to the stock to deepen the asparagus flavor.  And, if you don’t have stock or broth on hand, just add the trimmings to water and that will give you a flavorful stock.  If you have any on hand, a small dice of fennel also works to add some complexity to the final dish.

Serves 4

Approximately 4 cups hot chicken stock or low-sodium chicken

broth

3 tablespoons unsalted butter

¼ cup finely diced onion

Salt

1 cup Arborio rice

½ cup dry white wine

1 pound fresh asparagus, trimmed and cut, on the diagonal, into

thin pieces

1 tablespoon extra virgin olive oil

1 cup grated Parmesan cheese

Pepper

Place the chicken stock or broth in a large saucepan over medium heat.  If you have them, add the trimmings from the asparagus to the stock to add flavor.  Bring to a simmer; then, remove from the heat and keep warm.  

Place the butter in a heavy bottom saucepan over medium heat.  When melted, add the onion and season with salt.  Cook, stirring frequently, for about 3 minutes or just until the onion begins to soften.  Lower the heat, add the rice and cook, stirring, for about 5 minutes or until the rice is shiny and has absorbed some of the butter.

Return the stock to low heat.

Add the wine to the rice and cook, stirring constantly, for about 5 minutes or until the rice has absorbed the wine.  

Begin adding the hot stock, about ¼ cup at a time, and continue to cook, stirring constantly, as each ¼ cup is absorbed and the rice is creamy but, al dente.

Stir in the asparagus and olive oil and cook for an additional 4 minutes or until the asparagus is still crisp-tender.

Remove from the heat and stir in half of the cheese.  Cover and let stand for 3 minutes.

Uncover and pour into individual serving bowls.  Garnish with the remaining ½ cup of cheese and a sprinkle of pepper.

Serve immediately.  

Read Full Post »

I am probably one of the few non-Southerners who loves okra.  I usually don’t buy it at the supermarket – only when it pops up at the green market in August does it make it to our table.  It is such an interesting looking vegetable, particularly when it is the purple variety. When I have time and the price is right, I will pickle a good amount of okra.  It makes a great accompaniment to charcuterie or cheese platters.  But, as often as not, I will give it a quick stir-fry all by itself or mix it up with some tomatoes and onions.  But occasionally – particularly when I’ve made cornbread or have shrimp on hand – I’ll turn them into my version of maque choux, that traditional Louisiana side dish that usually features just corn, bell peppers, and onion.  Cornbread makes a good dipping tool and shrimp can turn it into a sorta gumbo.  I never cook okra very long as I’m not a fan once it starts to get slimy.  Although recently someone told me that if you blanch it for a minute or so, it stays bright green and doesn’t get slimy.  I haven’t tried that method so can’t recommend it, but you might want to give it a try.

Maque Choux

Serves 4

2 tablespoons bacon grease (or any fat you like)

½ cup chopped red onion

1 teaspoon minced garlic

1 teaspoon minced hot green or red chile or to taste

1 teaspoon chopped fresh thyme

1 cup fresh corn kernels

½ cup chopped red bell pepper

2 cups sliced okra

¾ cup heavy cream

Salt and pepper

½ cup chopped scallions

2 tablespoons chopped flat leaf parsley

Hot sauce, optional


Heat the bacon grease in a large skillet over medium heat.  Add the onion, garlic, chile, and thyme and cook, stirring frequently, for about 4 minutes or until the onion is softening.  Stir in the corn and bell pepper and continue to cook, stirring frequently, for about 5 minutes or until just barely tender.  Stir in the okra and then quickly add the cream, season with salt and pepper, and bring to a simmer.  Simmer for about 5 minutes or just until slightly thick.  Don’t cook too long as you don’t want the okra to start oozing – you want it slightly crisp.

Remove from the heat and stir in the scallions and parsley.  Taste and, if necessary, season with salt, pepper, and hot sauce.

Serve hot.

Read Full Post »

20130714_Artichokes_baby_DSC_1092

If you’ve read my posts for awhile you will know that I love artichokes.  The baby ones I got at the farmers market the other Saturday made the best Roman Fritto Misto, but since I only fried the artichokes I guess it was a fritto without the misto. To make the misto, just combine an assortment of vegetables cut into a little bit larger than bite-size pieces. Sounds very fancy, but it is so simple to do.  Here’s how:
Clean the baby artichokes and cut them, lengthwise, into quarters.  Scoop out the fuzzy choke and rinse well.  Rub well with a cut lemon half and pat dry.  (Work quickly as the cut artichokes will rapidly begin to discolor.  You can always put them in acidulated (lots of lemon juice) water as you work to stop the process, but then you really have to make sure they are well-dried before frying.)

Combine the cut artichokes with salted flour in a resealable plastic bag, close, and shake well to coat generously.
Whisk 2 eggs together in a shallow bowl.
Heat olive oil in a deep fat fryer to 375ºF on a candy thermometer.
Place the floured artichokes in a sifter and shake to remove excess flour.  Quickly dip into the beaten egg and immediately drop into the hot oil.
Fry for about 3 minutes or until golden brown and crisp.  If they cook too quickly, remove the fryer from the heat and let the oil cool to 365ºF before continuing to fry.
Lift from the oil and place on a double layer of paper towel to drain. 

Sprinkle with salt and serve hot.

Read Full Post »

Older Posts »